Create and manage hubs
Create a hub #
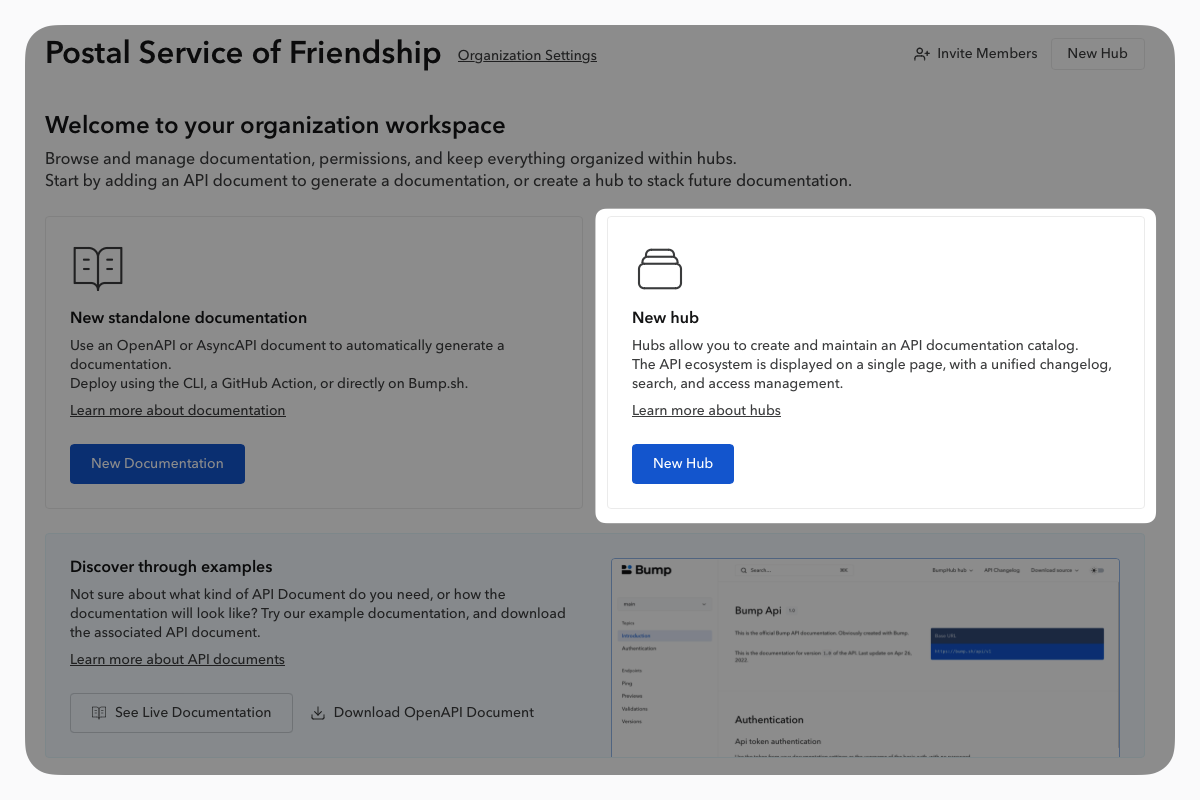
In your dashboard, click on New hub.
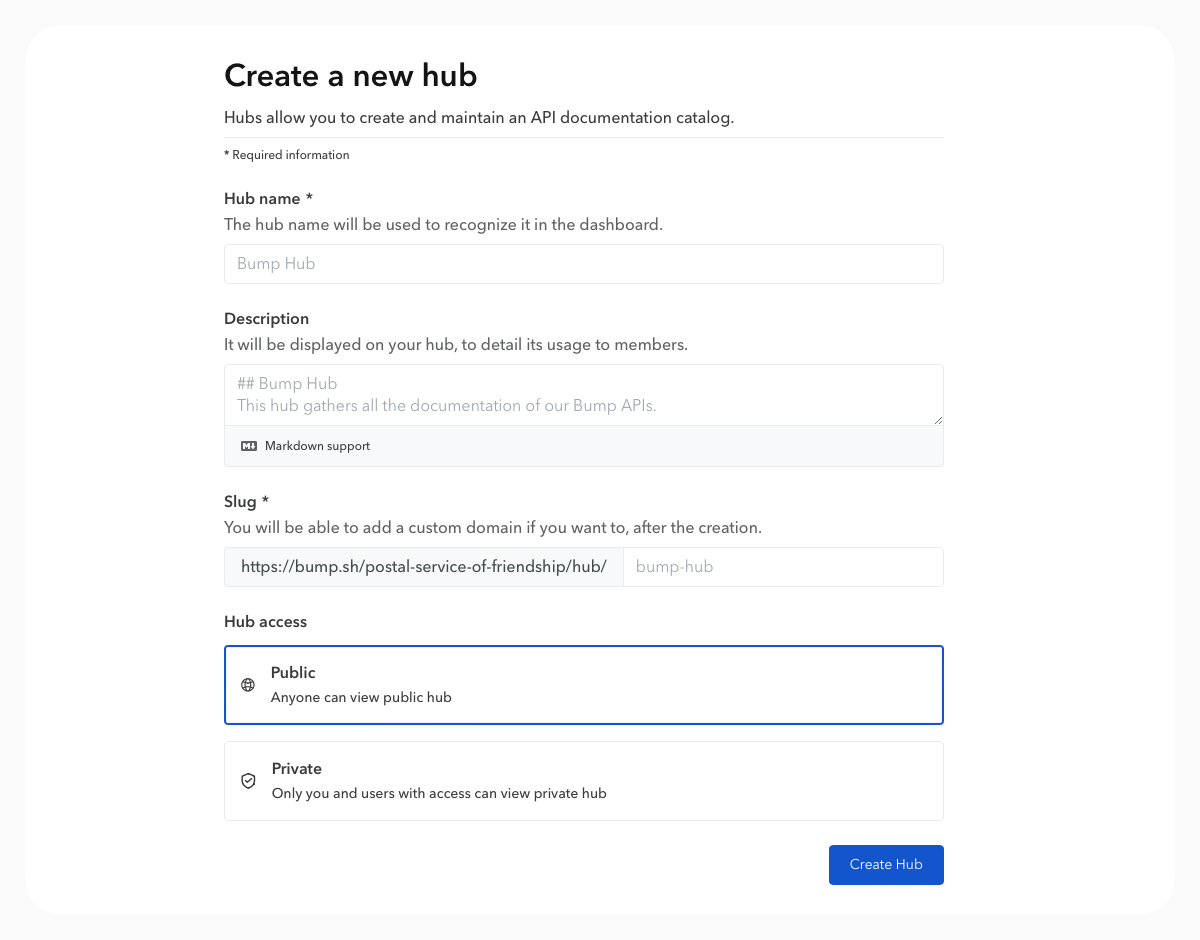
You will be asked to choose a name for the hub, which will be visible to everyone. The slug is the portion of the URL that you can customize but you can also choose to use a custom domain instead:
- By default, on Bump.sh, your hub will be available on this URL https://bump.sh/hub/
- With a custom domain, your hub will be available on https://www.custom.domain.com
Finally, you can decide whether this hub is visible to everyone or only to members of your organization.
Add documentation to a hub #
Using the webapp #
Create a new documentation #
From the “Hubs” tab, click on “Create Documentation” to add it to the desired hub. You can then specify the documentation’s name, its slug, and its access level (Public or private). During the creation of a stand-alone documentation, you’ll also find the option to add it automatically to an existing hub.
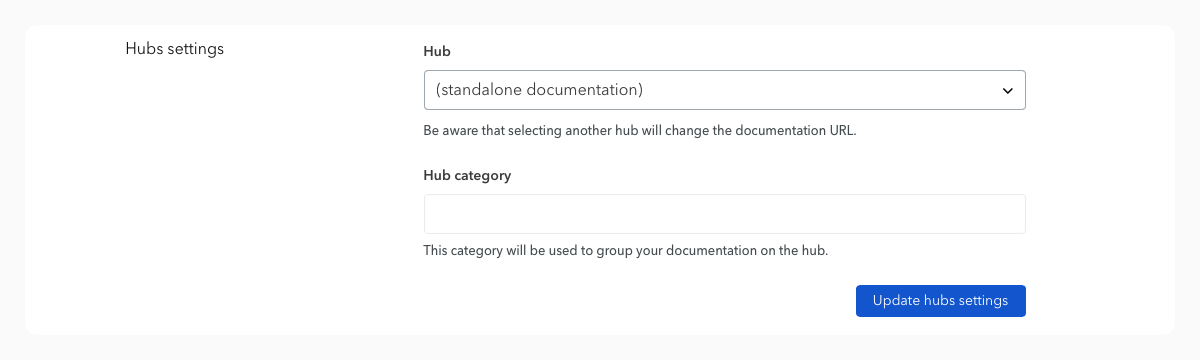
Transfer an existing documentation #
From any documentation settings, you can choose to move it to an existing hub. The “Hubs Settings” section allows you to choose which hub to associate this documentation with. You can also specify a category if necessary.
Using the CLI #
The CLI allows you to deploy new documentation directly to a hub. It does not support yet the possibility to create a hub, nor to transfer a doc from one hub to another (you will need to do that via the webapp, as described above).
To deploy a new doc to a hub, execute the following command:
bump deploy your/doc.yml --auto-create --doc my-doc --hub hub-slug-or-id --token my-doc-token
Find here the commands and more information about the CLI.
Using the API #
The Bump.sh API allows for several actions on your hub and the documentation it contains:
- Deploy a new version of a documentation present in a hub.
- Validate a version (pre-deployment check) for a documentation in a hub.
- List the documentation in a hub.
However, the API does not currently support the following actions:
- Deleting a documentation from a hub.
- Attaching an existing documentation (outside of the hub) to a hub.
- Modifying the metadata of a hub (title, description, settings, etc.).
- Deleting a hub.
For more information, please refer to our API documentation.
Hub access management #
Access Management functions in a similar way for hubs, with a few exceptions.
The access management settings for a hub apply to all the documentations within it. Two settings are possible:
- Private: All documentations are accessible only to members of your organization and by invitation.
- Public: All documentations are publicly accessible, but you can manually switch them to private in their settings.
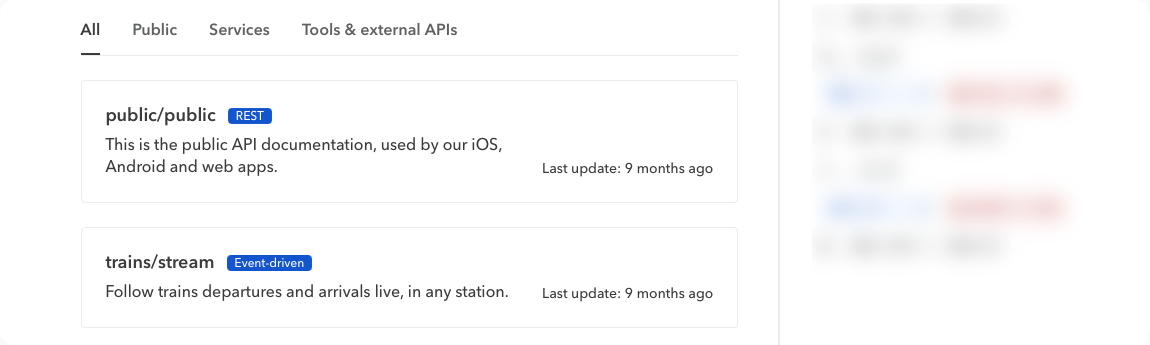
Group by categories #
Categories are visible on the homepage of your hub and allow you to organize the documentation. You can add one or more categories to them by reaching the documentation settings. From the settings, you can choose to display the documentation sorted by categories.