Try HTTP Requests with Postman
Bump.sh now includes its own API Explorer, allowing you to test your API directly within your documentation. Give it a try!
Seeing how an API works is the first step in an end-users journey to using the API, and the second step is making some test requests to get a feel for how it works. Some people like to do this with code, so code samples will be a good start for them, especially if you have an SDK. Other people like to do this with interactive HTTP clients, like Postman.
Postman is one of the original modern API consoles. Users can create or import “collections” which are very similar to OpenAPI but focus more on actual requests and responses being saved, like a whole bunch of bookmarks in a browser. Those collections can be distributed in various ways, and it’s becoming increasingly common for API providers to publish a read-only public Postman Collection for end-users to download, so they have a whole interactive API console ready to go.
This guide will go through getting started with Postman, creating a “Postman Collection” from the same OpenAPI that powers your documentation, to finally getting a “Run in Postman” button into your Bump.sh API docs.
Step 1) Install Postman #
Download and install Postman on your computer and load it up.
Step 2) Create a Postman account #
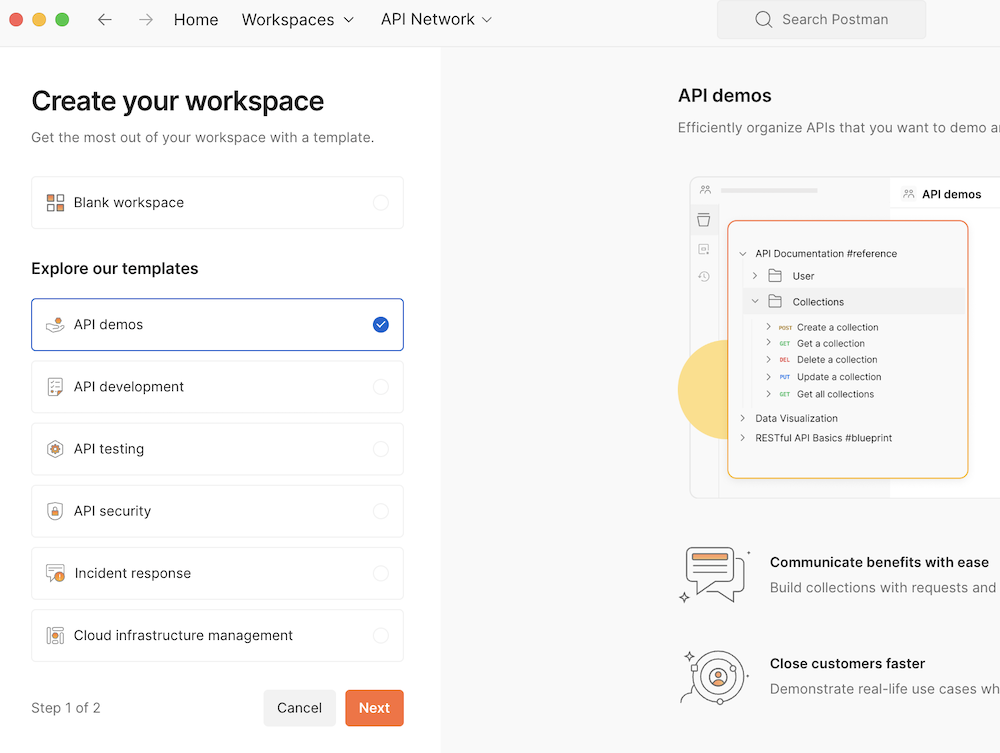
Create a new account (it’s free). If you’re doing this for a business or organization other than yourself you can create a workspace your collections to live in.
Step 3) Connect your API to Git version control #
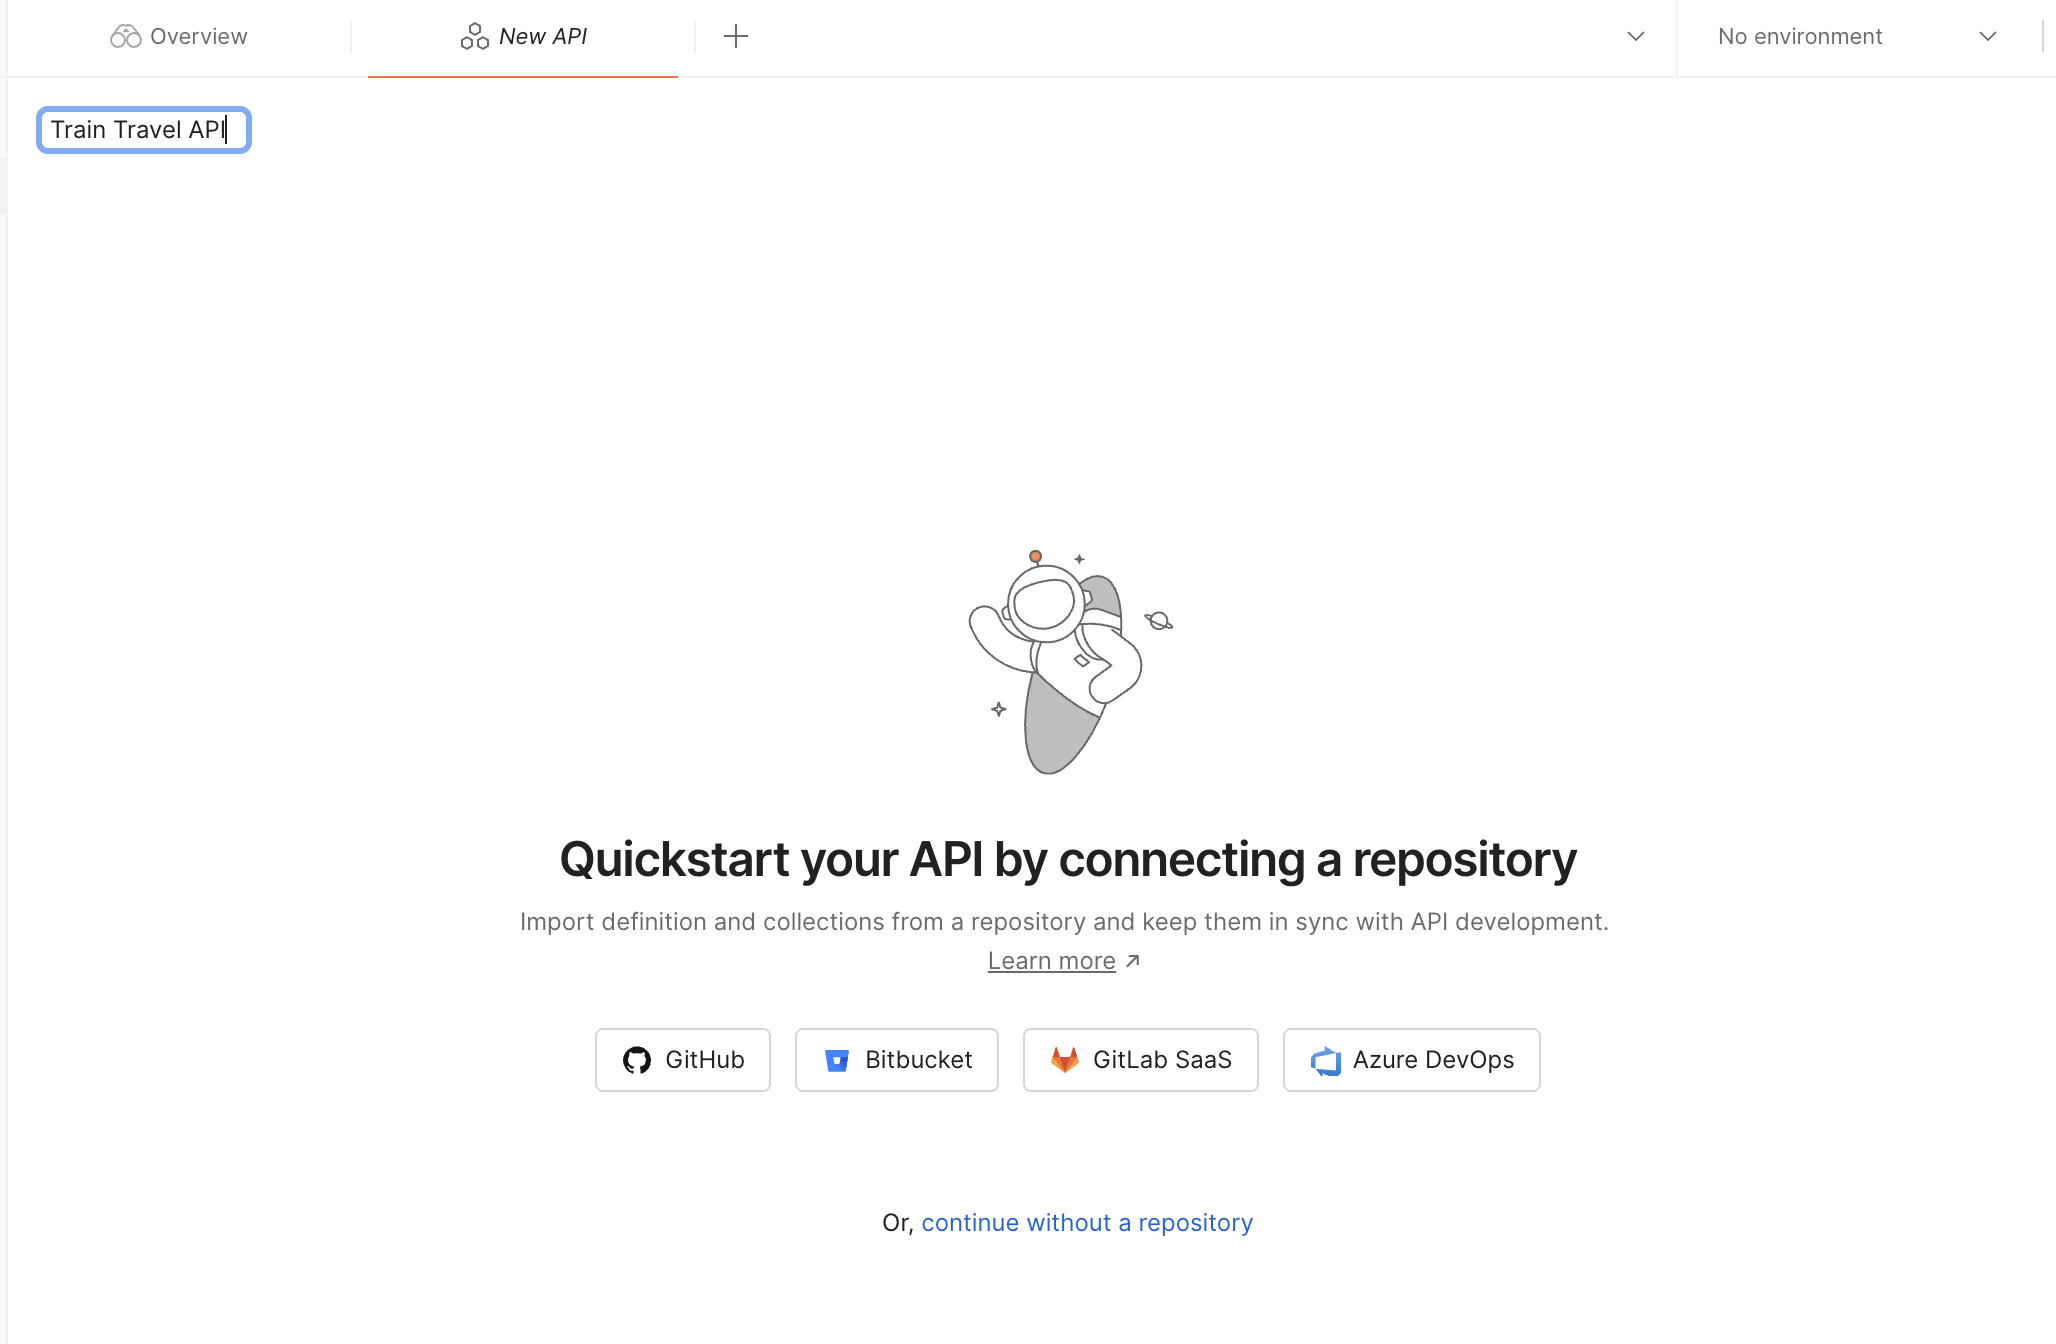
On the left sidebar click APIs, and you should see the option to create a new API. If this option is missing open up Workspace settings and configure the sidebar to add the APIs option.
The APIs interface will show you have no APIs, so click “Create” and give the API a name.
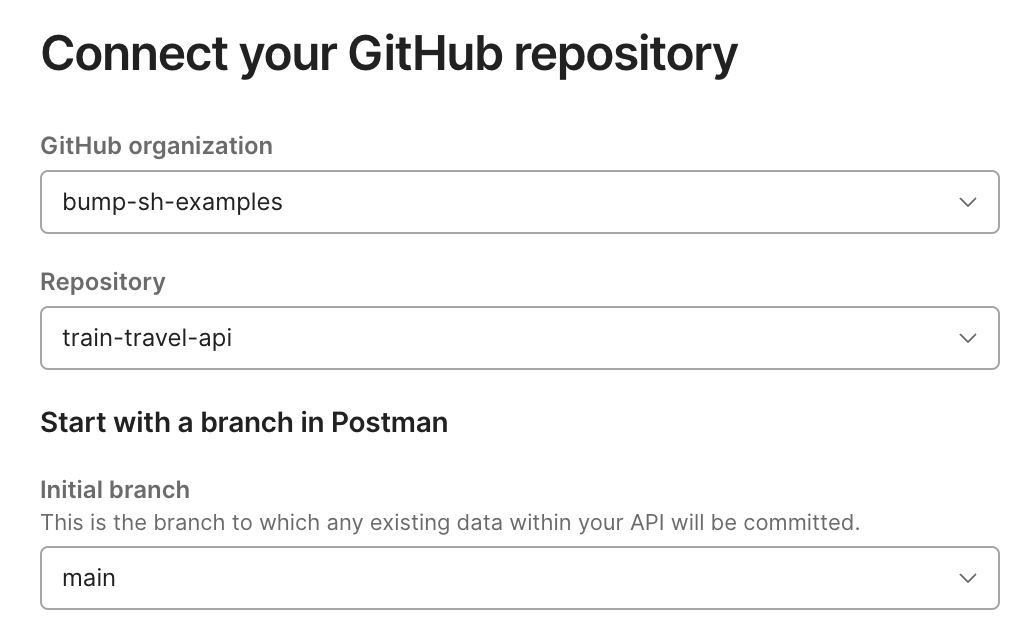
Then you can configure which Git repository your API should be connected to.
Next, point Postman to the “API schema file”, which is their way of saying “API description document.” Whatever you call it, this is the same openapi.yaml document that you use to deploy to Bump.sh.
It’s possibly sat in the root of your repository, but if you’re not sure, you can look at your .github/workflows/bump.yml and see where the deploy command is looking for the file: {filename}.
Click “Connect Repository” when it’s all done and you’ll be taken to the API overview page.
Step 4) Setup Postman in the Repository #
Before you can publish this API to the world, we need to help Postman identify the specific API being described. If you hover over the Publish button it will suggest some changes, which it can commit for you.
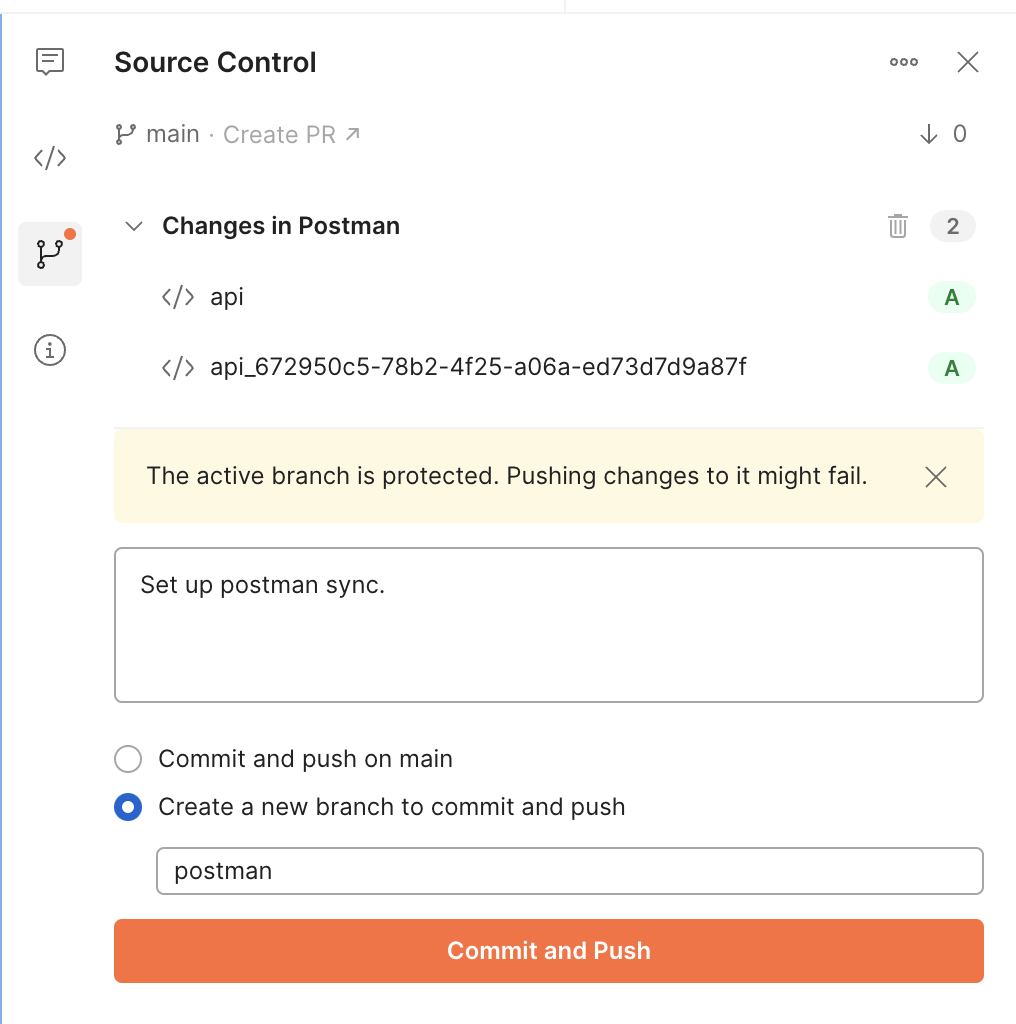
Click the commit button and then create a pull request, ideally through the Postman “Create pull request” button on the same screen. It will take you to your Git hosting provider on the pull request page. The pull request contains a few bits of config, like the Postman API ID.
If you’d like to see what it looks like, take a look at the Train Travel API pull request, or jump right in with your API.
When this is done, Postman will be all set up to work with your API in your repository.
Step 5) Generate a Postman Collection #
Postman is now aware of your OpenAPI document, but in order to share a collection you’ll need to generate a collection from your OpenAPI.
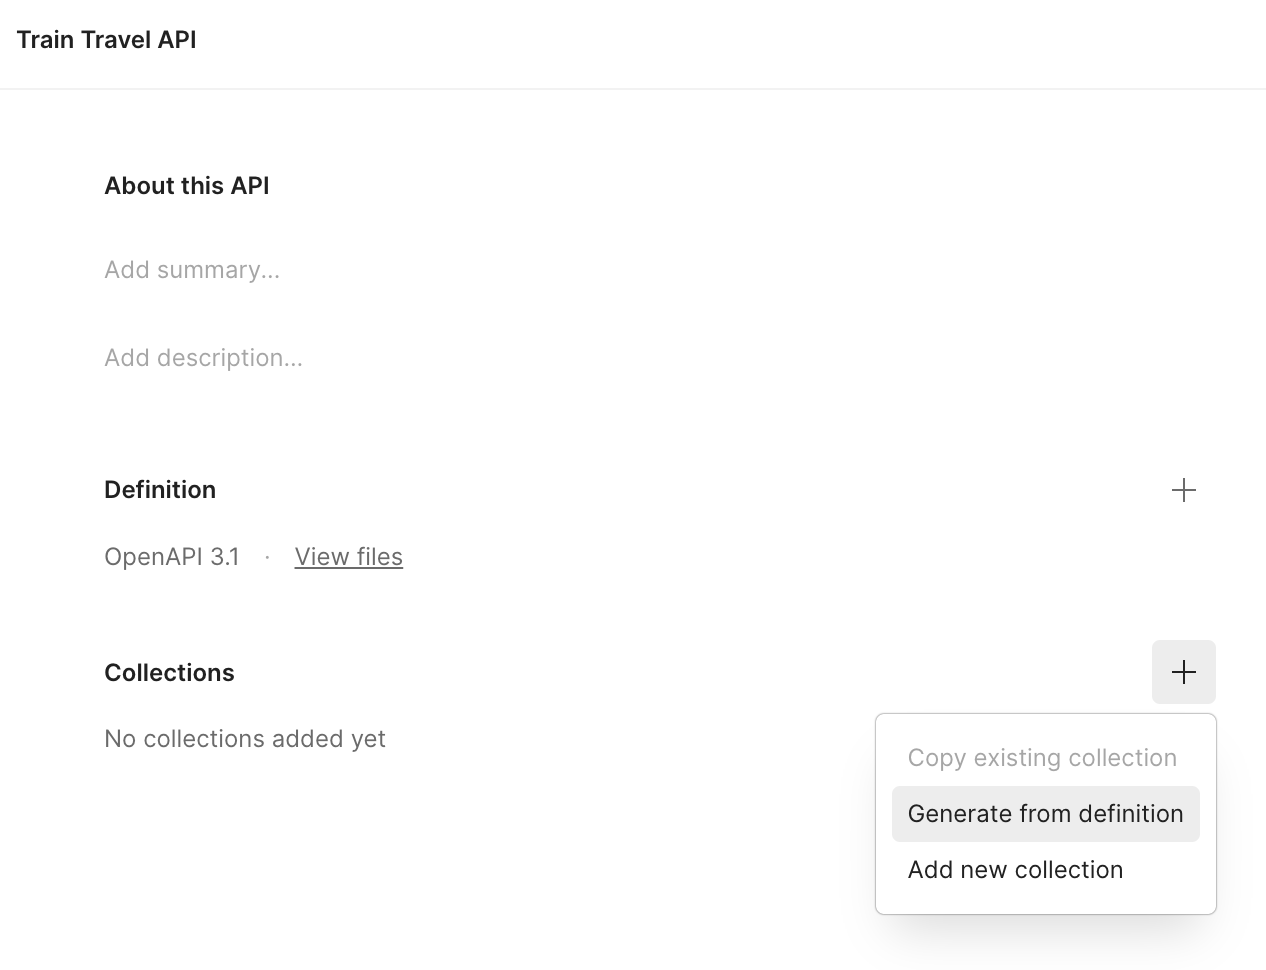
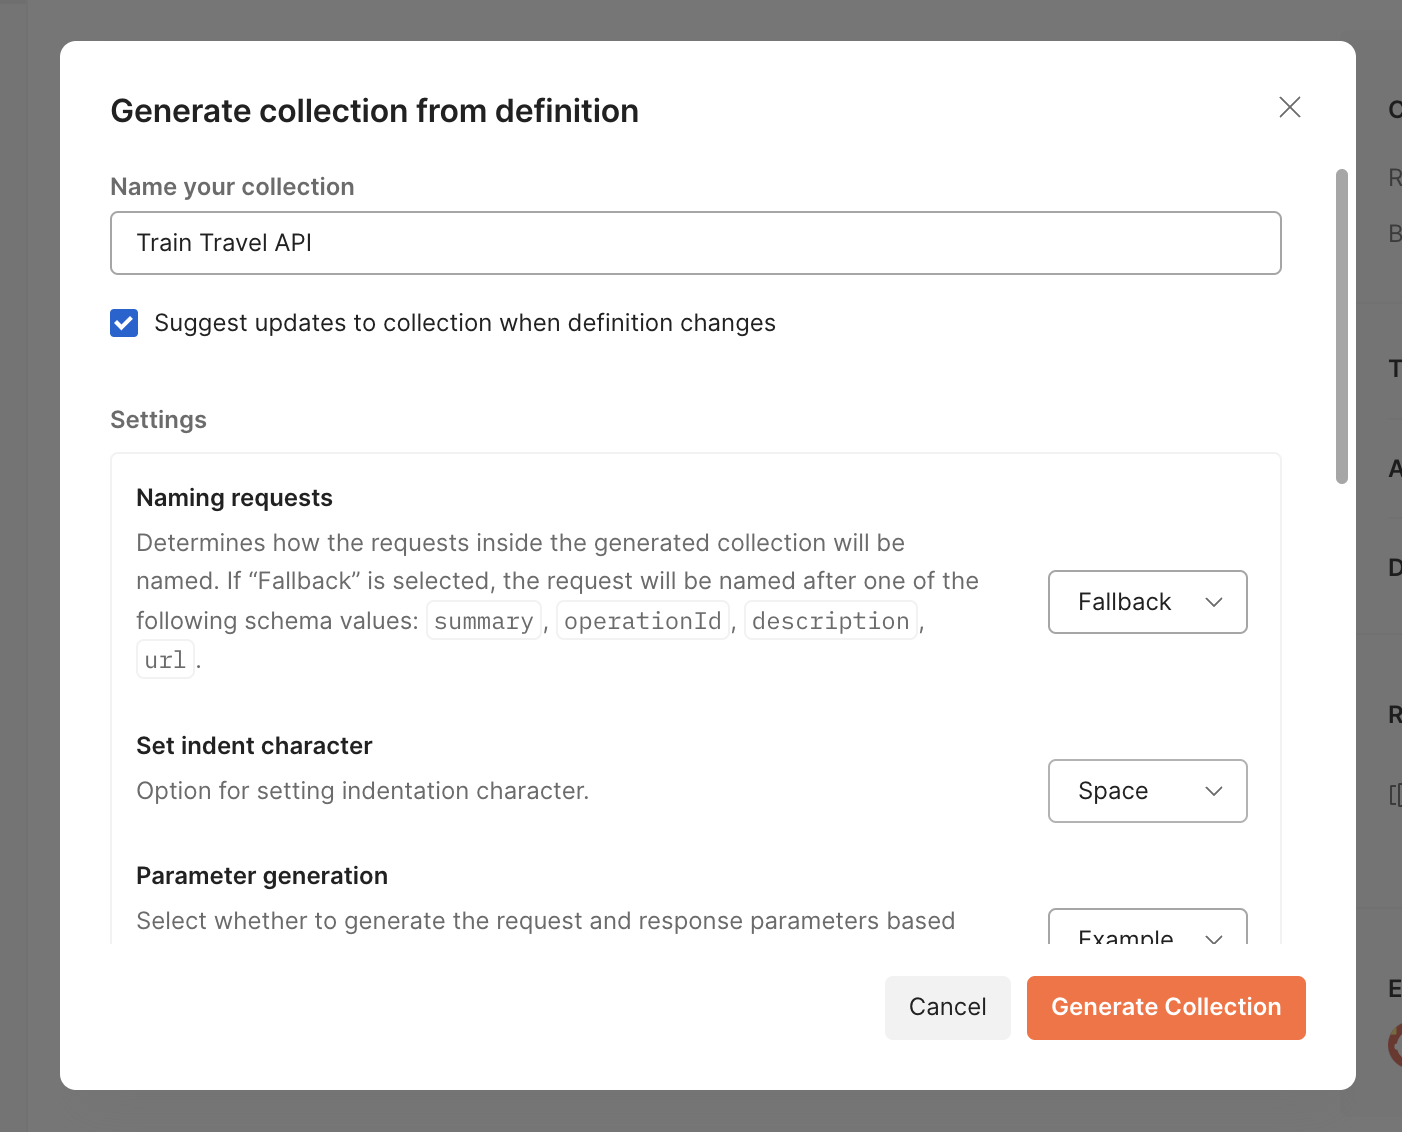
Clicking “Generate from definition” you’ll see a modal window with a whole bunch of options. To start off just keep them all default, perhaps changing the Parameter Generation setting to Example if your OpenAPI happens to have great examples in there already.
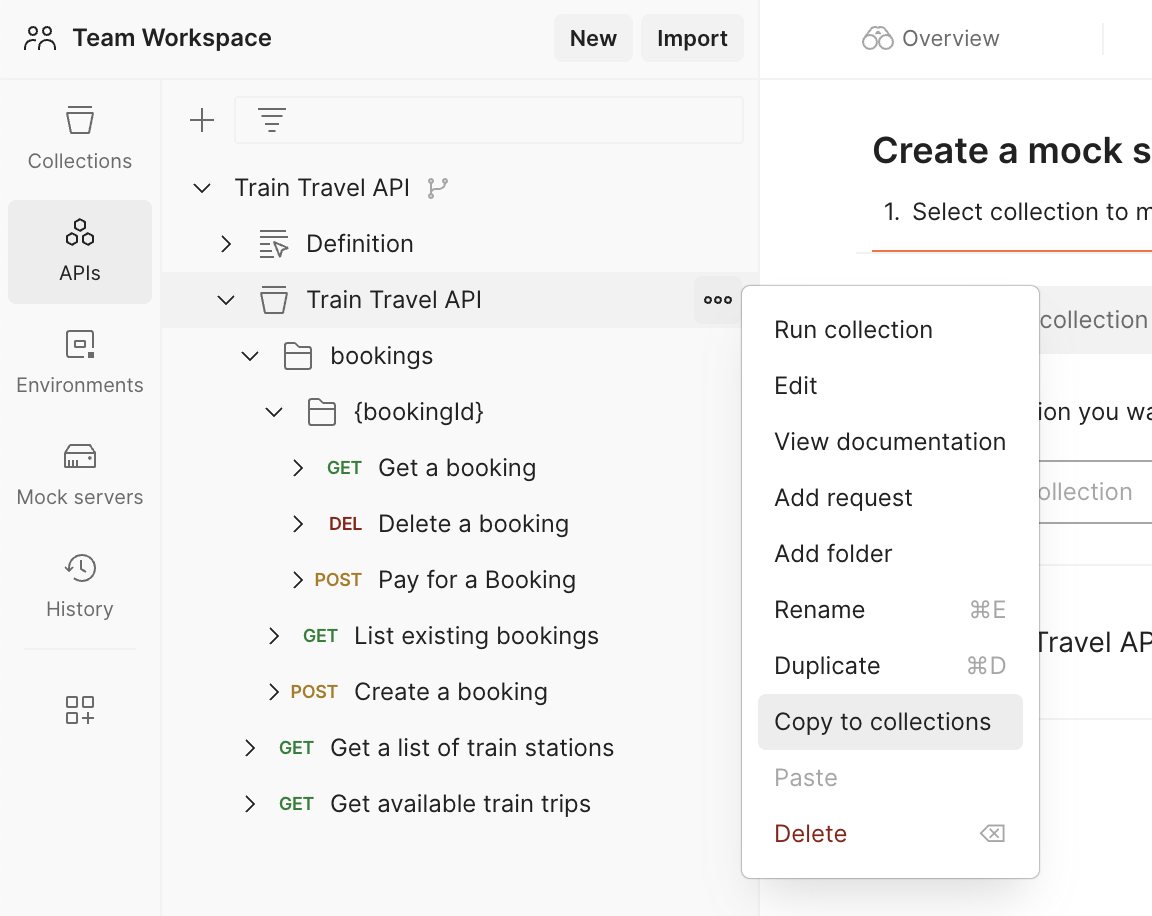
Almost done! The collection lives in the APIs panel under our API, but in order to use the full power of Postman we need to copy it over to the main Collections tab.
Step 6) Integrate the Run in Postman button to Bump.sh #
Finally, this collection is ready to rock, and we can embed the Run in Postman button into our Bump.sh documentation.
To get the button, click on the collection and find the Share option, then select the Mxarkdown version.
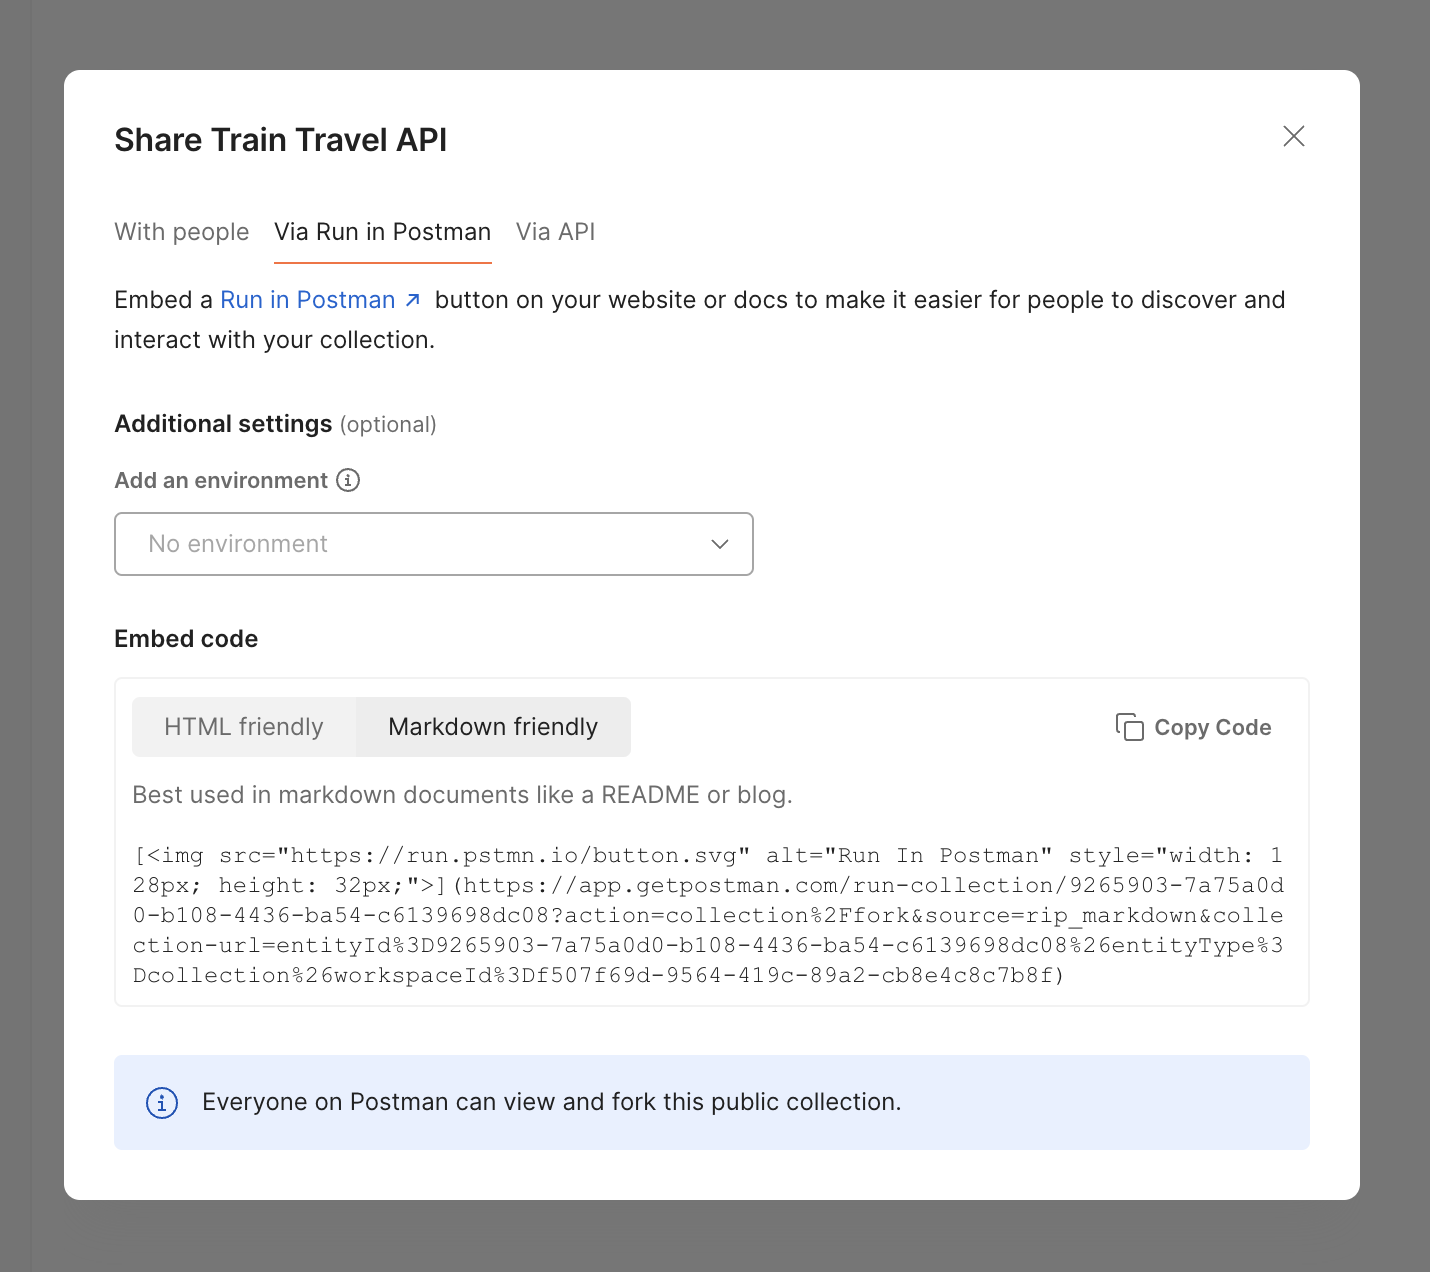
Take that Markdown, and pop it into your OpenAPI somewhere. The easiest place to put it is right in the info.description property.
openapi: 3.1.0
info:
  title: Train Travel API
  description: |
    API for finding and booking train trips across Europe.

    ## Run in Postman

    Experiment with this API on Postman, using our Postman Collection.

    [<img src="https://run.pstmn.io/button.svg" alt="Run In Postman" style="width: 128px; height: 32px;">](https://app.getpostman.com/run-collection/9265903-7a75a0d0-b108-4436-ba54-c6139698dc08?action=collection%2Ffork&source=rip_markdown&collection-url=entityId%3D9265903-7a75a0d0-b108-4436-ba54-c6139698dc08%26entityType%3Dcollection%26workspaceId%3Df507f69d-9564-419c-89a2-cb8e4c8c7b8f)
A better place for this button might be a dedicated Topic, using the
x-topicsextension supported by Bump.sh documentation.
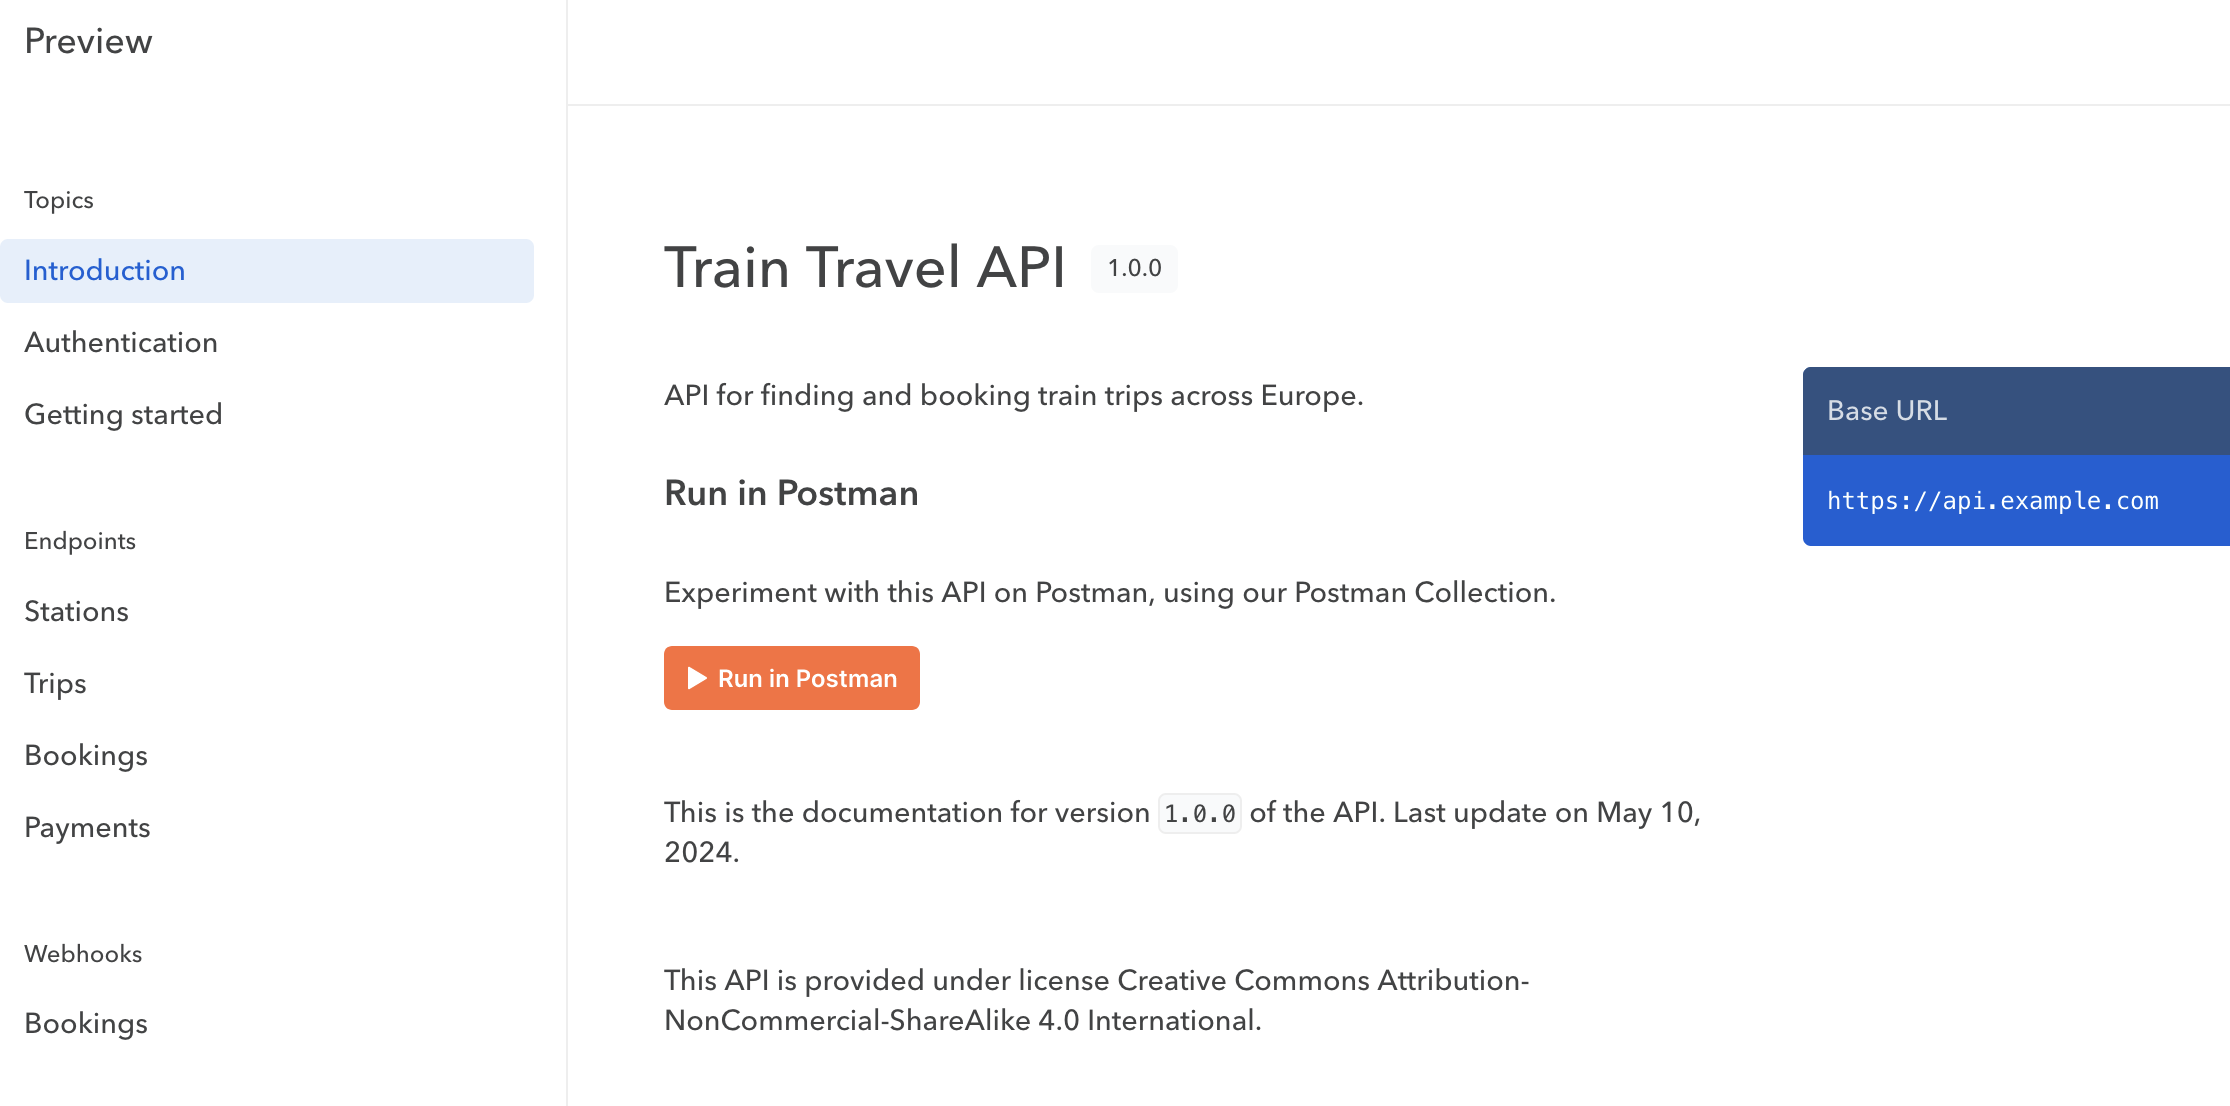
To see how this looks in Bump.sh before pushing it live, you can use the Bump.sh CLI’s preview command.
npx bump-cli preview openapi.yaml --live
The command will return a link, click that and see how the documentation looks.
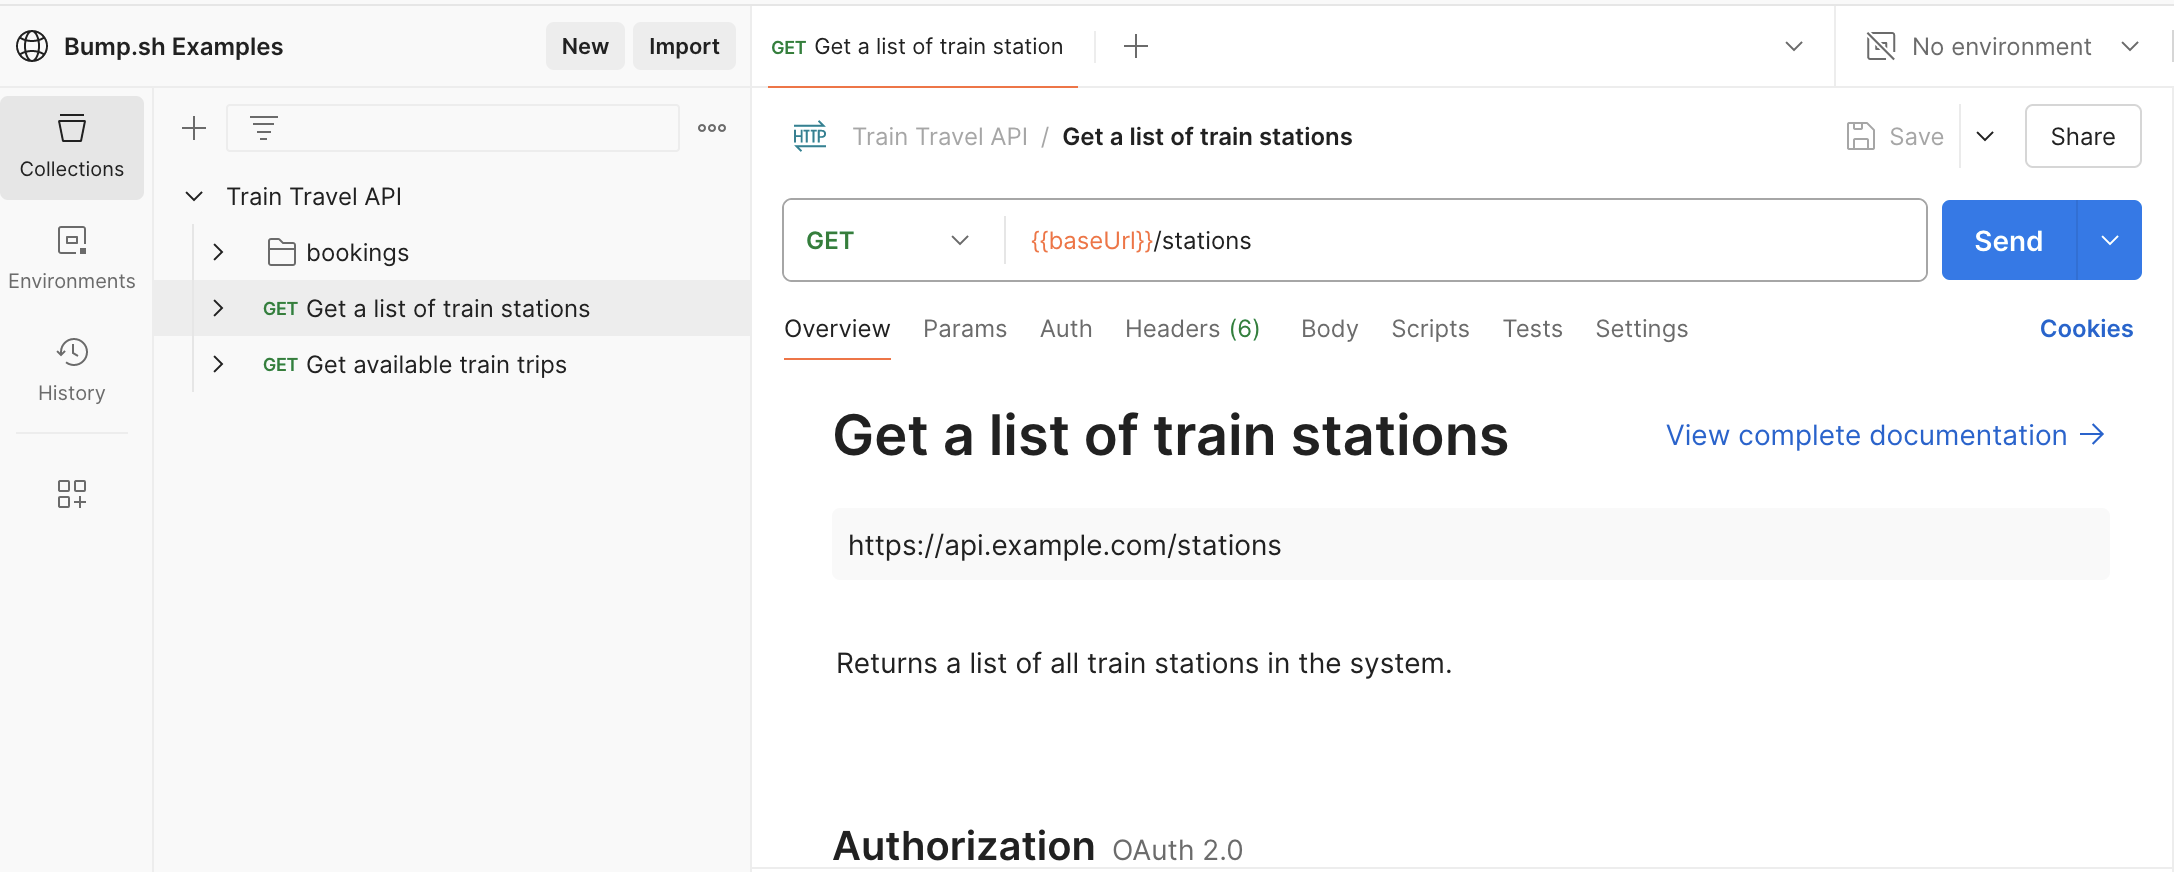
When you (or your users) click the new Run in Postman button, they’ll be able to view the original, or fork the collection to their own workspaces to customize the requests for their own needs. When it loads up, the collection will show all the possible requests, and help them add the right headers, parameters, and authorization details.